Deploying on Heroku
Heroku is a cloud platform for building and delivering applications.
We will use it with GitHub Actions—automatization workflow manager by GitHub.
1. Create a Repo on GitHub
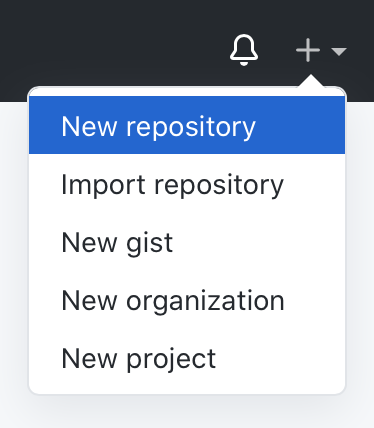
Firstly, create a new repository to connect Heroku with your codebase. It will allow you to use commits to master as a trigger to deploy.
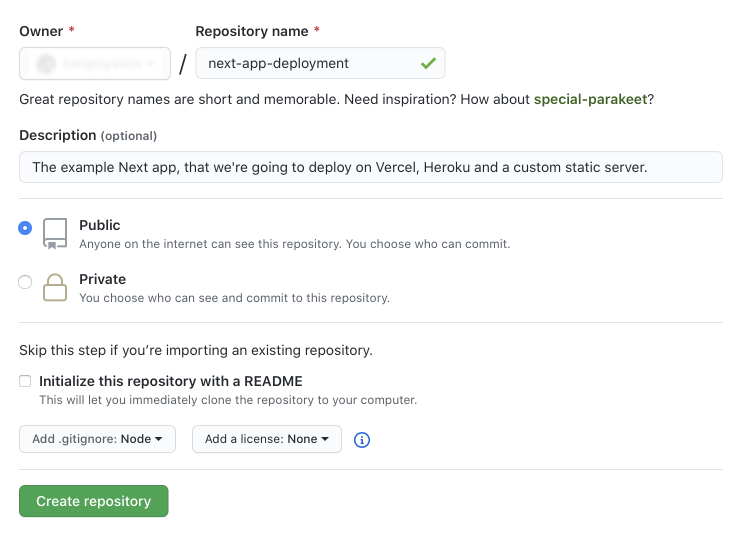
Setup name, description and other repository settings.
After it's done, make changes in the code, commit and push them into the repo.
git add .
git commit -m "Add app starter files"
git push origin master
2. Create an Account on Heroku
To connect a GitHub repo with Heroku you're going to need to sign up to Heroku. (If you already have an account, you can skip this section.)
Go to a signup page and create an account.
3. Create a New Heroku App
Go to Heroku Dashboard and hit “New“ button. In modal select “Create new app” option.
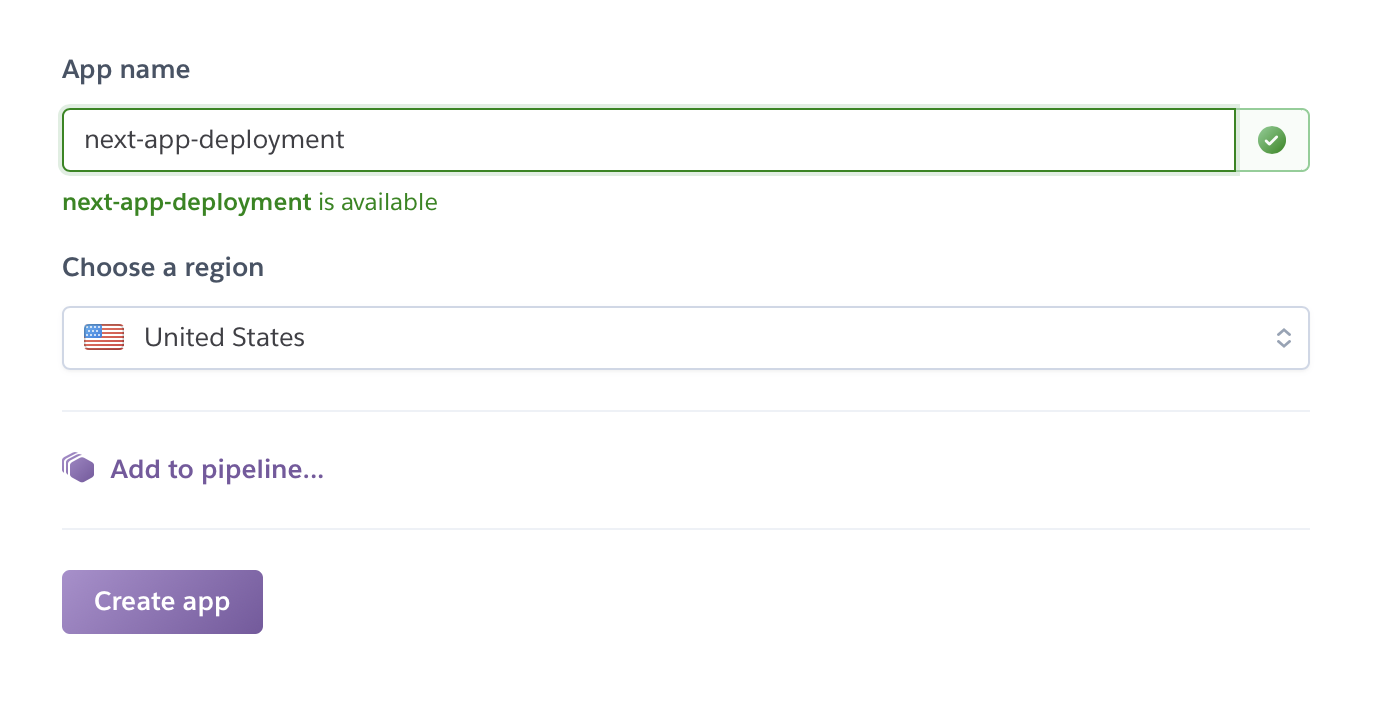
It will redirect you to a page with new app settings. There, enter a name for your app and select a region for hosting.
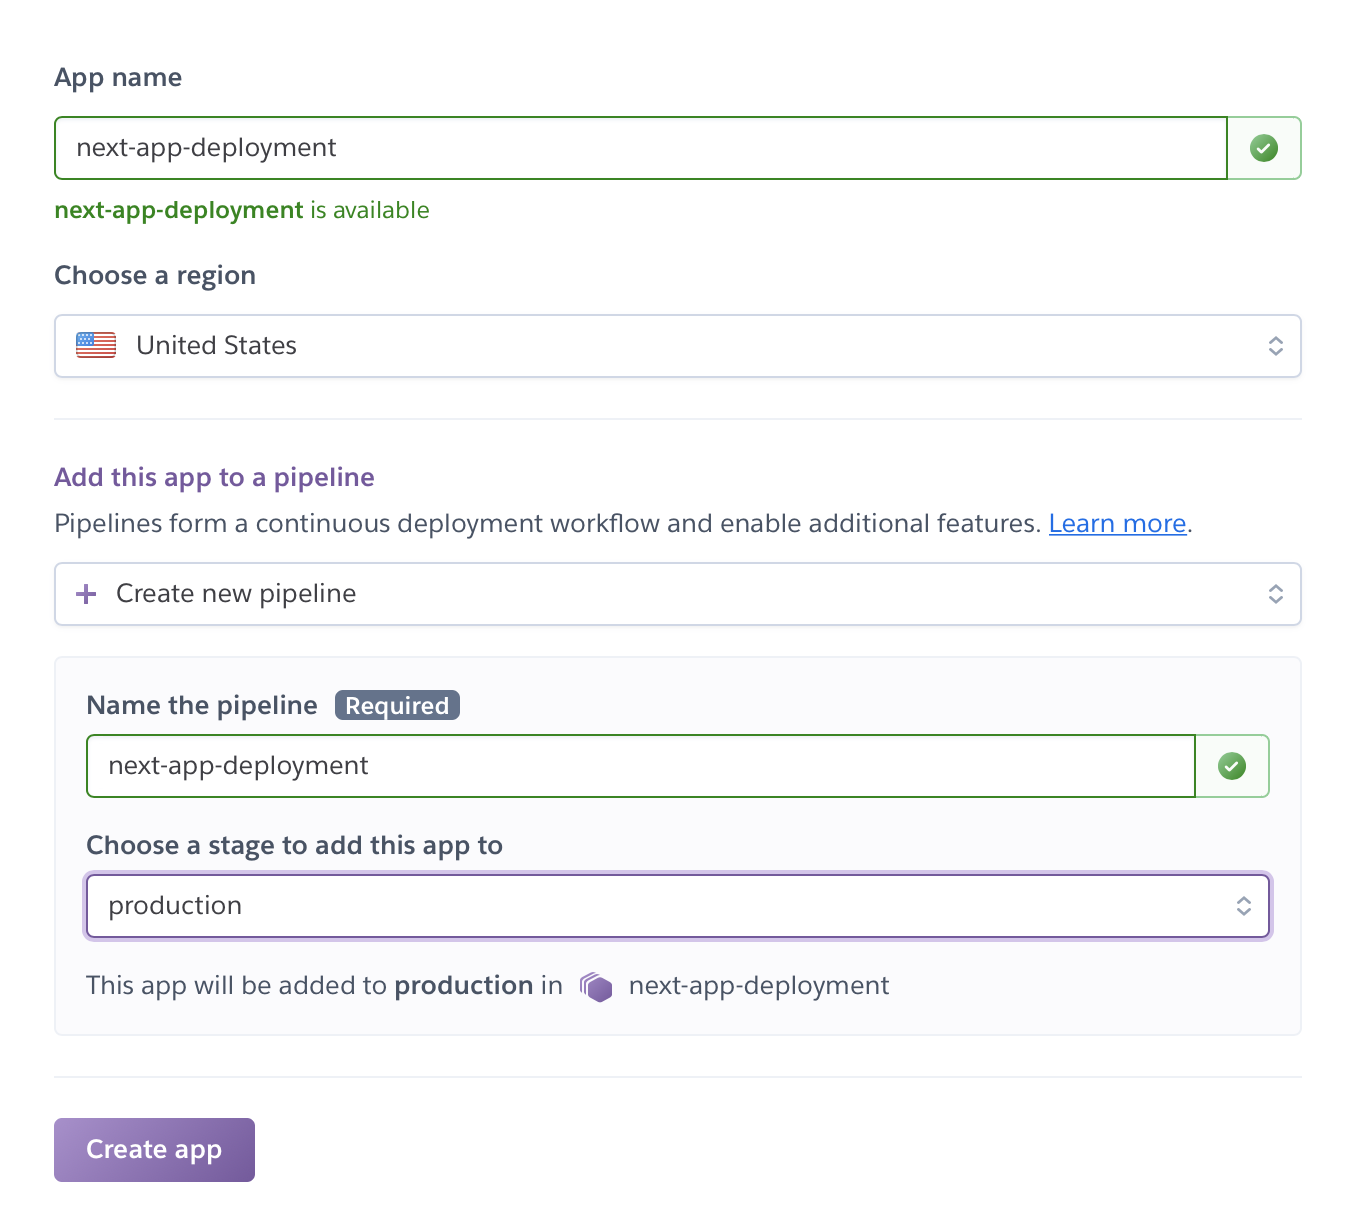
Create a new pipeline with production stage. Choose a name for it.
After it's done, on the next screen, select a deployment method “GitHub”. Select your GitHub account in a select below and type the name of the repository.

For automatic deploys select master branch in “Enable automatic deploys” section.
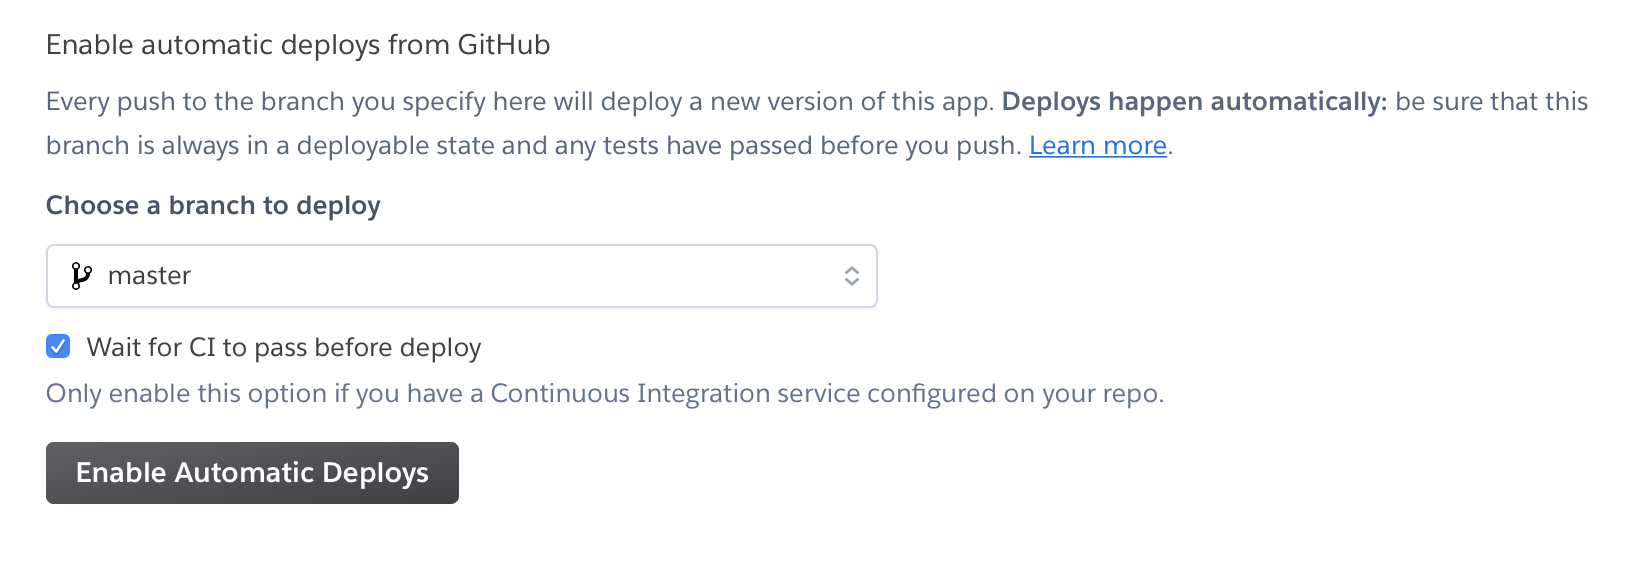
Optionally check “wait for CI to pass before deploy” to ensure your tests pass before a project goes to production if there are any tests.
4. Setup a GitHub Action
On GitHub we need to activate a GitHub Action. Actions are an automatization workflow for building, testing, deployment and other routines.

Go to “Deploy to Heroku” Action's page and scroll to “Getting Started” section.
There you will find a code snippet that needs to be copied in .github/workflows/main.yml file.
name: Deploy

on:
  push:
    branches:
      - master

jobs:
  build:
    runs-on: ubuntu-latest
    steps:
      - uses: actions/checkout@v2
      - uses: akhileshns/heroku-deploy@v3.2.6
        with:
          heroku_api_key: ${{secrets.HEROKU_API_KEY}}
          heroku_app_name: "YOUR_APP_NAME"
          heroku_email: "YOUR_EMAIL"
This is a YAML-file that tells “Deploy on Heroku” action what to do, when a new push comes to master branch.
heroku_api_key field keeps a API token, that should be generated and stored in “Secrets” section in GitHub.
5. Install Heroku CLI
Install Heroku CLI. (If you already have it installed you can skip this section.)
6. Generate Heroku API Token
Authenticate in CLI:
heroku login
When it's done, you should see something line:
heroku: Waiting for login...
Logging in... done
Logged in as YOUR_EMAIL
Generate a new token with:
heroku auth:token
Paste generated value in “Secrets” section in GitHub: Settings, Secrets, New Secret.
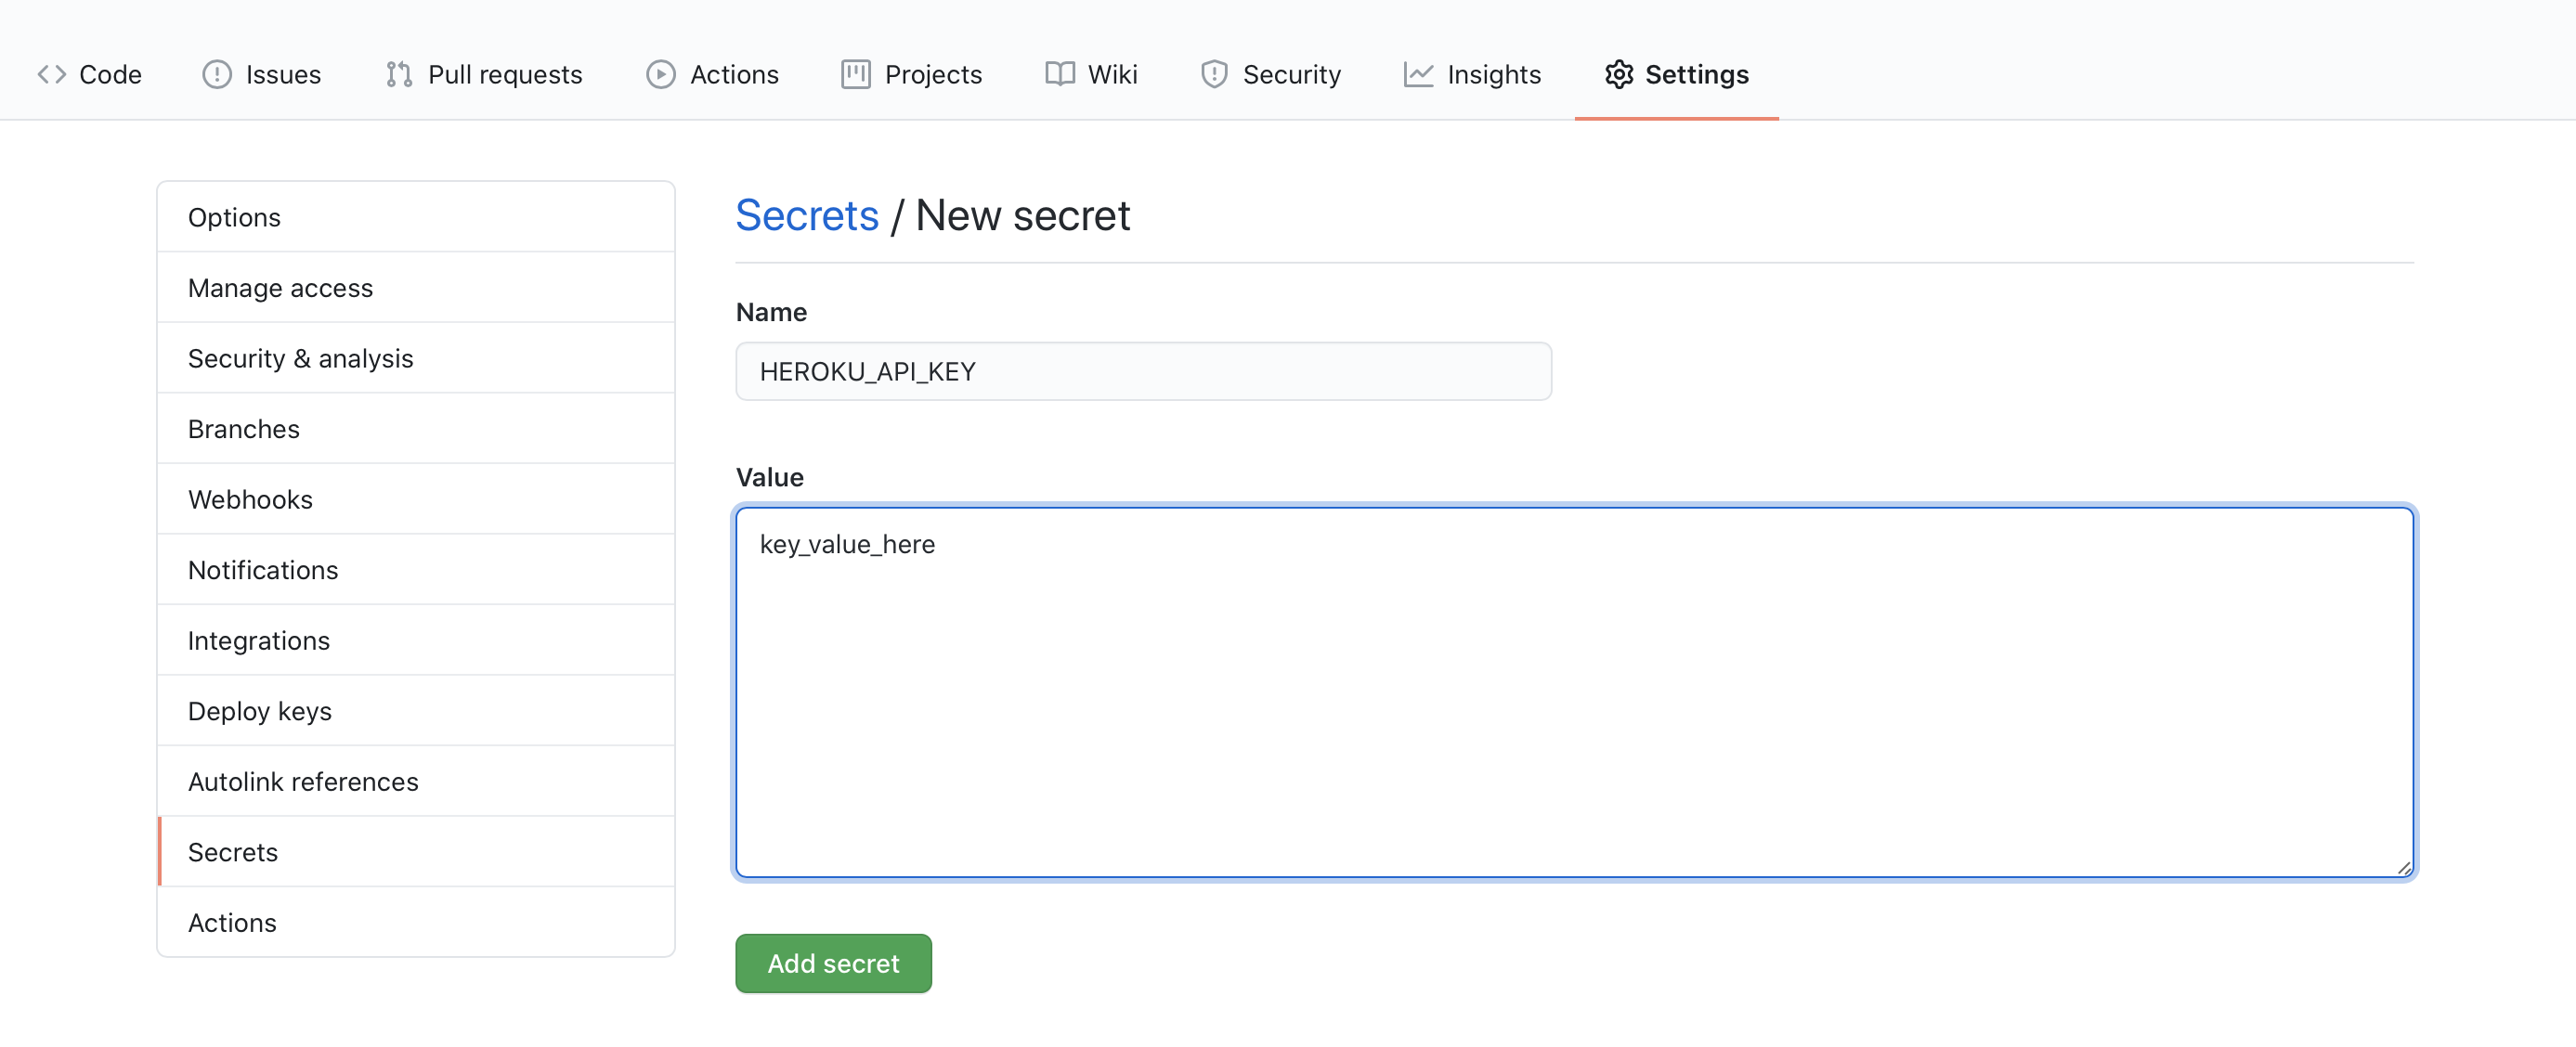
GitHub will inject this value at build time automatically. This is ho Heroku knows whose build is being triggered.
7. Update start script
In your package.json update start script to be:
"start": "next start -p $PORT"
Pay attention to $PORT environment variable, that must be specified.
When it's done, update your code, push changes to master branch and they will be deployed on Heroku. In the Dashboard you will see a new deployment, which will contain a link to the app.